




Tired of cracked, dated tiles in your kitchen or bathroom? Learning how to replace old tiles is one of the highest-impact upgrades you can make in a room — and for a single wall or a small floor, it’s a realistic DIY project if you follow the steps in order and respect the prep work.
This guide walks through the full process: the tools and materials you need, removing old tiles without damaging what’s underneath, and installing, grouting and sealing new tile so it lasts. We’ll also flag the points where most DIY tile jobs go wrong — and when it’s smarter to call a pro.
1. Why replace old tiles?
- Value and appearance: Fresh tile modernizes a kitchen or bathroom instantly and shows well if you’re selling.
- Function: Cracked tiles and failed grout let water reach the wall or floor structure — in a bathroom, that’s how rot and mould start.
- Hygiene: Cracked, stained grout harbours mould and is nearly impossible to clean properly.
Time for a change if you see cracked or loose tiles, crumbling or permanently stained grout, water damage behind the tile, or a style that dates the whole room.
2. Tools and materials you’ll need
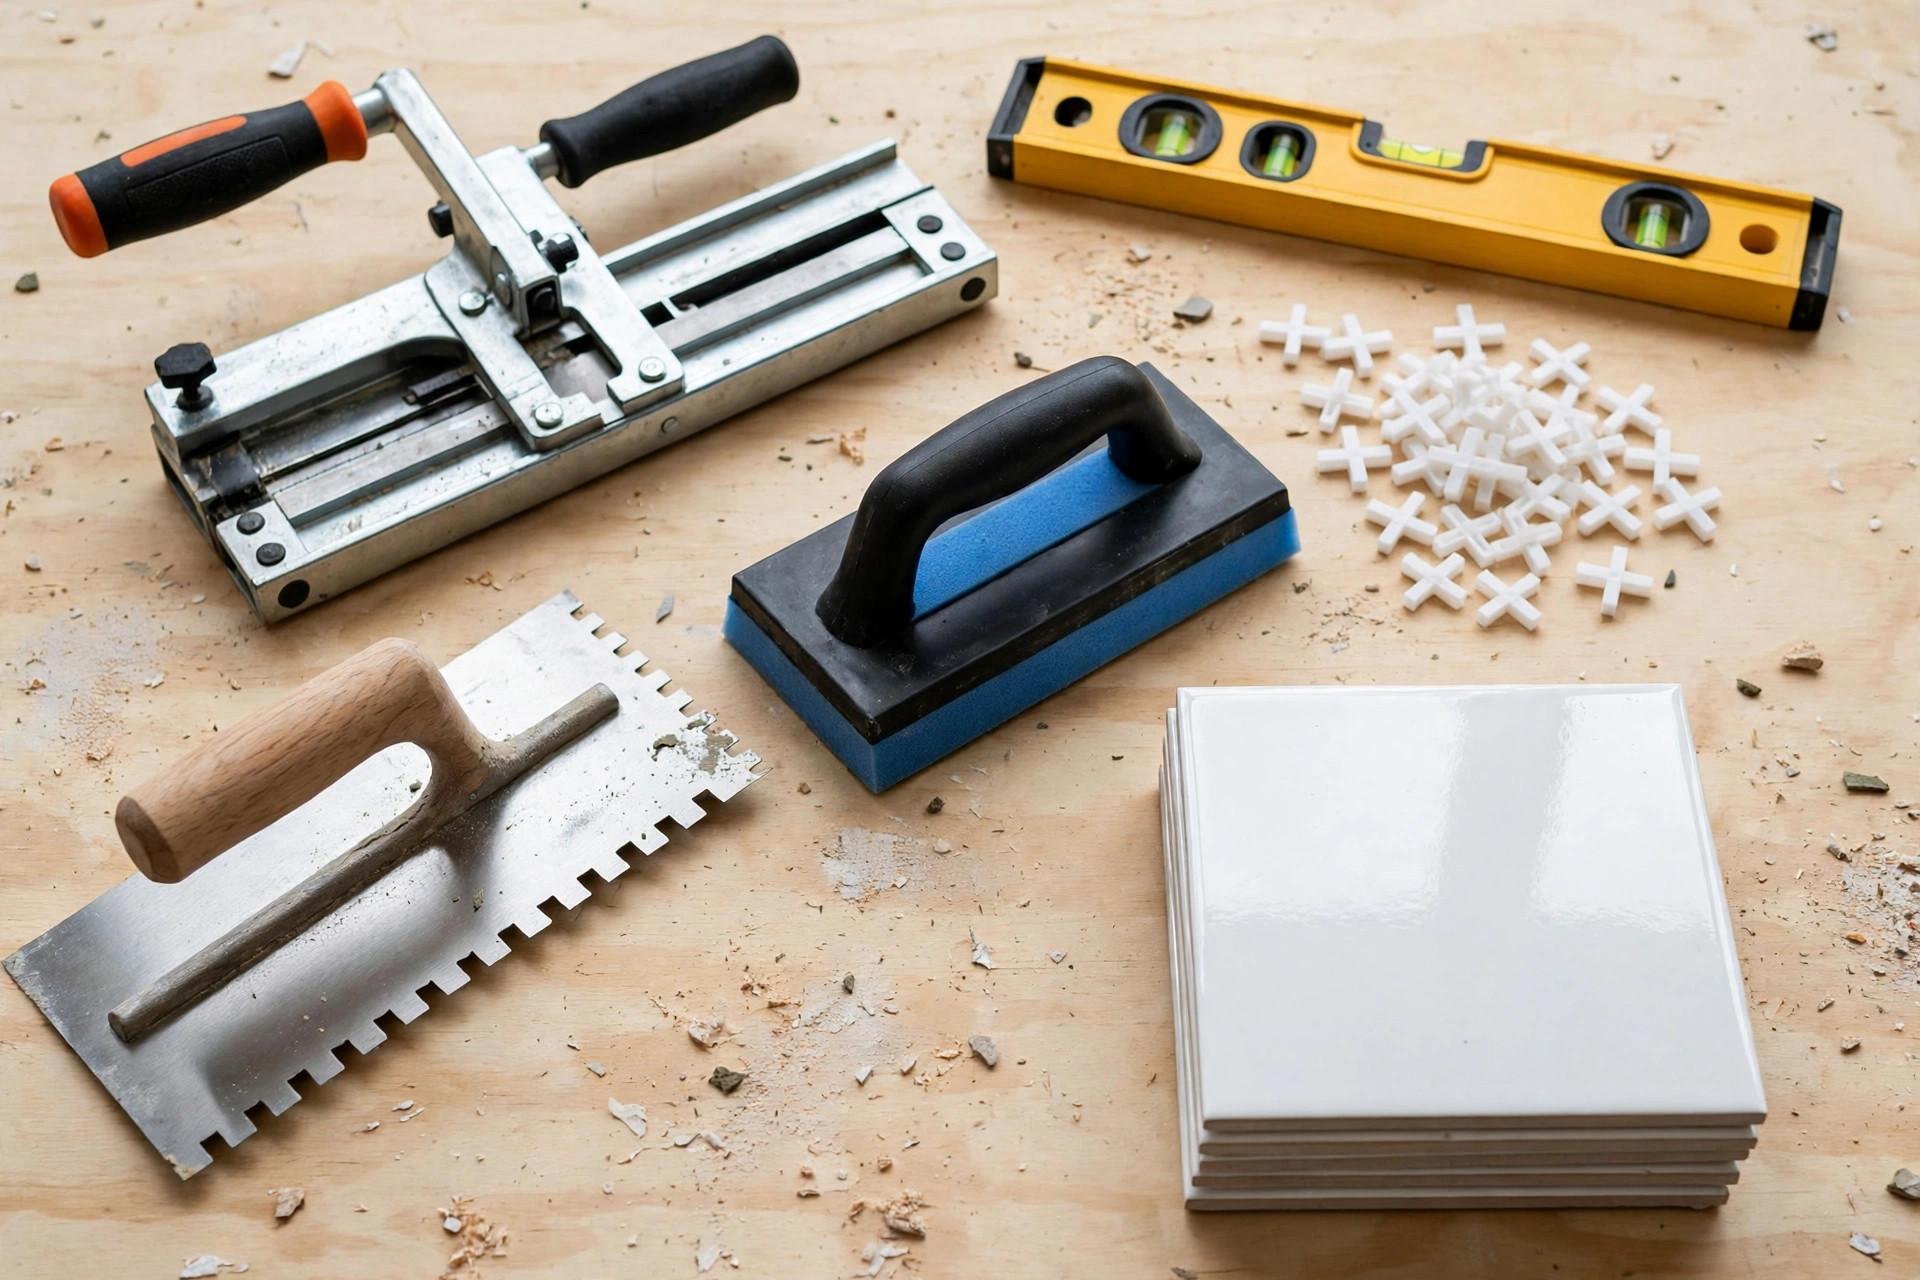
Tools: tile cutter or wet saw, hammer and chisel, notched trowel, tile spacers, grout float, rubber mallet, sponge and bucket, scraper, safety glasses and gloves.
Materials: new tiles (buy 10–15% extra for cuts and spares), thinset mortar (the standard adhesive for ceramic and porcelain tile), grout (sanded for floors and wide joints, unsanded for narrow joints and delicate tile), tile sealant, and patching compound or levelling compound if the surface needs it. In wet areas, cement board or a waterproof membrane under the tile is not optional — it’s what makes the job last.
3. Preparation
- Clean the surface: Sweep and scrub away dust, grease and soap residue so you can see the true condition of the tile and substrate.
- Plan the layout: Measure the area and dry-lay a row to plan cuts. Aim to avoid slivers of tile at the edges — shift the starting point so end cuts are balanced.
- Protect the room: Cover fixtures and floors, and turn off water to the area if you’ll be working near plumbing.
4. Removing old tiles
- Start at a grout line: tap a chisel into the grout with a hammer to loosen the first tile, then pry gently.
- Work in small sections, keeping the chisel angle shallow so you don’t gouge the wall or floor beneath.
- Scrape off old thinset and grout residue until the surface is as flat as you can get it — every bump left behind telegraphs through the new tile.
Stubborn tiles may need a pry bar or an oscillating tool with a grout blade — go slowly near edges and fixtures, where the substrate is easiest to damage.
5. Preparing the surface
- Fill cracks and holes with patching compound; sand or grind high spots level.
- On floors, check for bounce or soft spots — tile over a flexing subfloor will crack. Reinforce or replace damaged sections first.
- In showers and tub surrounds, install cement board or a waterproof membrane. Never tile a wet area directly over regular drywall.
6. Installing the new tiles
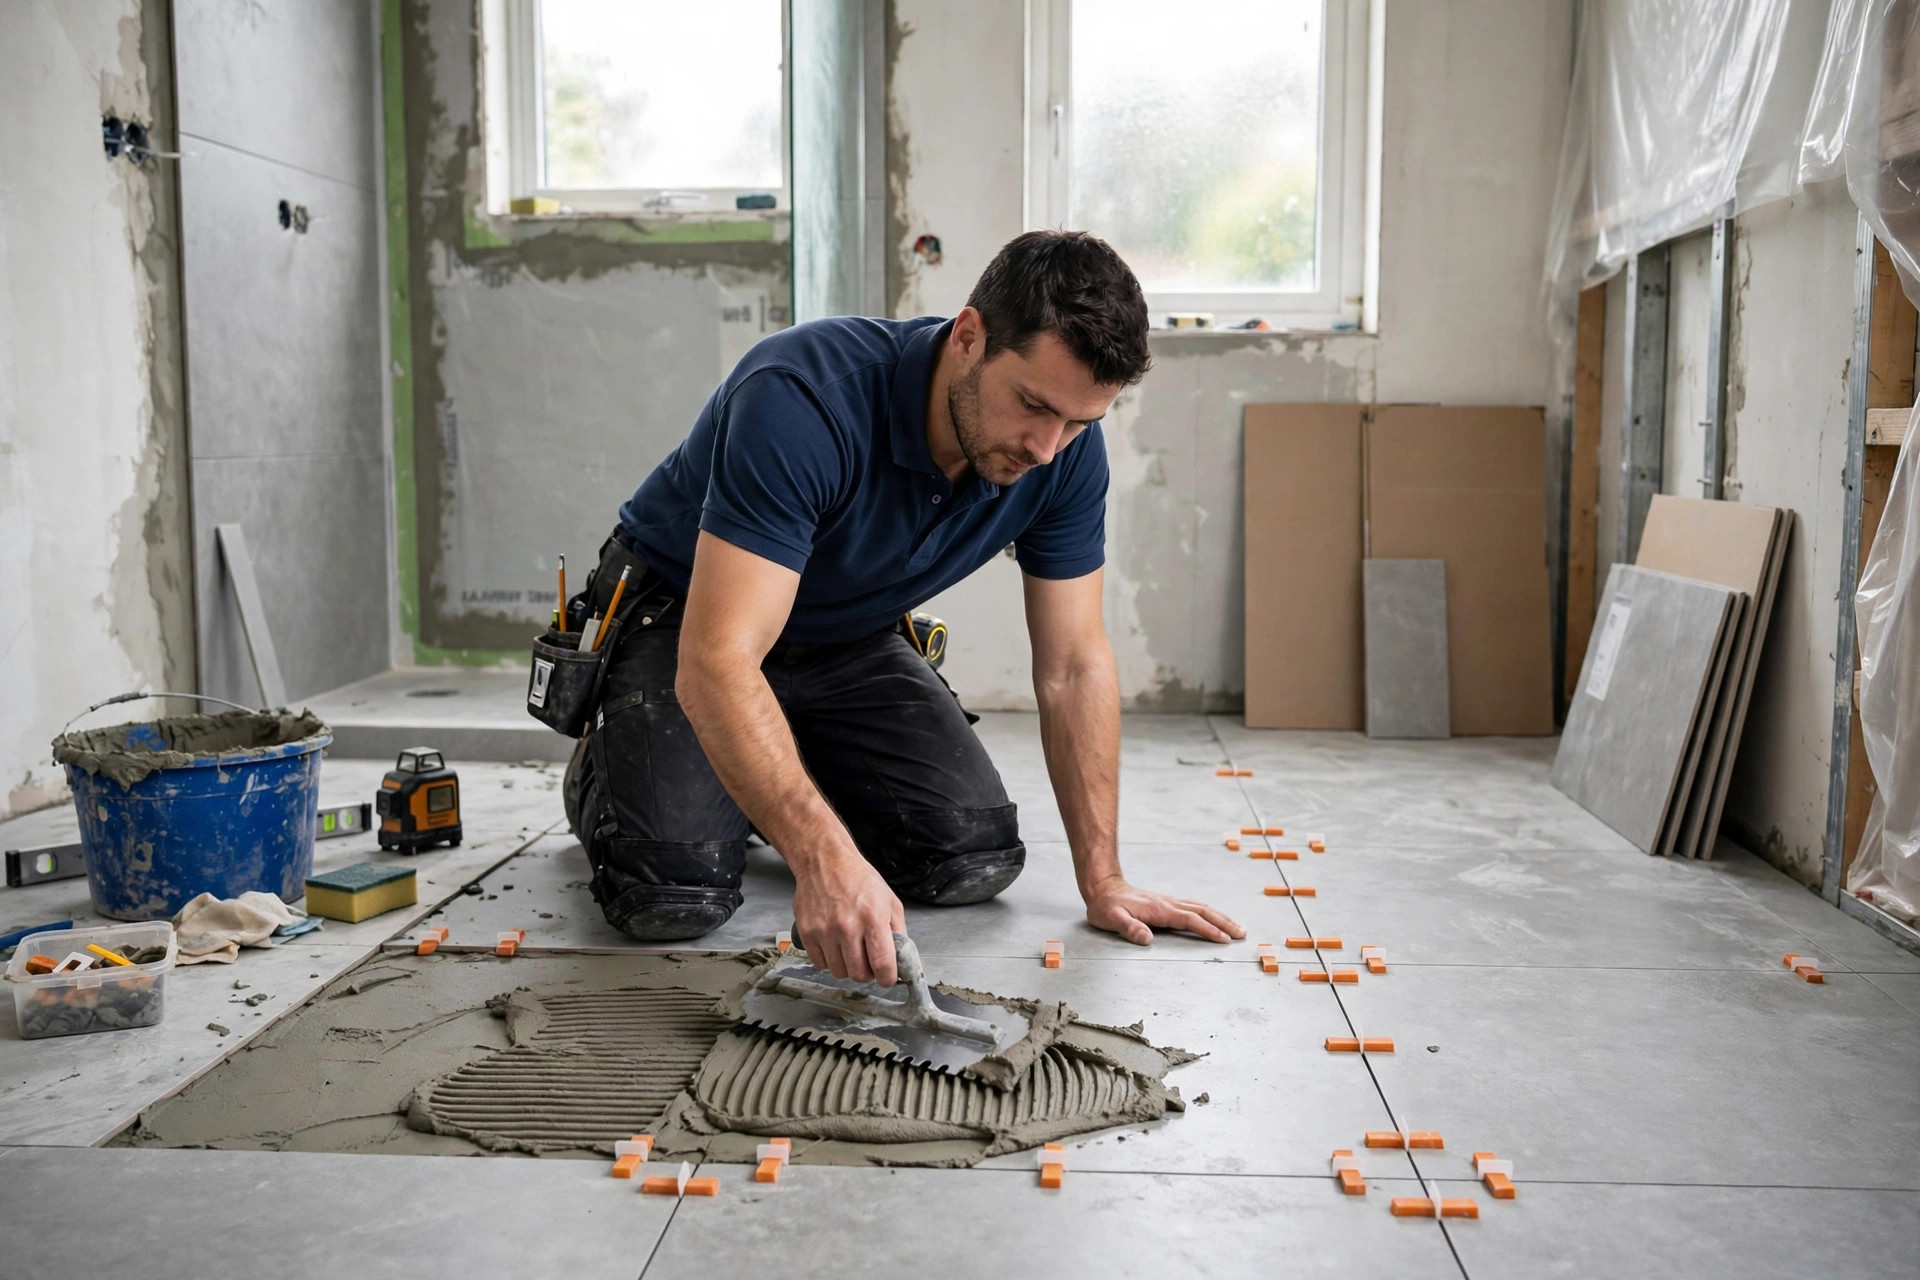
- Mix thinset to a peanut-butter consistency and spread it with the notched trowel, working in sections of about 2–3 square feet.
- Start from your planned centre line (floors) or a level ledger board (walls) and press each tile in with a slight twist.
- Use spacers at every corner for even grout lines, and check level and alignment every few tiles — corrections get harder as the thinset sets.
- Cut edge tiles with the tile cutter or wet saw, measuring each one individually.
7. Grouting and sealing
After the thinset cures (usually 24 hours), remove the spacers and spread grout with a float held at 45 degrees, pressing it fully into the joints. Wipe the excess with a damp sponge, rinsing often. Once the grout hazes over, buff the tiles clean. After the grout cures per the manufacturer’s timing, apply sealant to the grout lines — essential in kitchens and bathrooms.
8. Common mistakes to avoid
- Skipping surface prep: Most failed tile jobs fail here, not in the laying.
- Tiling over damaged substrate: New tile won’t fix a soft wall or flexing floor — it will crack along with it.
- Uneven grout lines: Use spacers and a level from the first row; errors compound across the wall.
- Rushing cure times: Grouting before thinset sets, or sealing before grout cures, weakens the whole installation.
When to call a pro
A backsplash or a small bathroom floor is a fair weekend project. Call a professional when the job involves a shower or tub surround (waterproofing matters), large-format tiles, floors that need levelling or substrate repair, or any sign of water damage behind the old tile. Homenza handles tile installation and repairs as part of our home repair services across Toronto & the GTA — call (416) 670-0014 for a free estimate, or see our tips on handling home repairs like a pro.
FAQ
Can I tile over existing tile?
Sometimes — if the old tile is sound, level and well-bonded, and the added height won’t cause problems at doors and fixtures. In wet areas or over damaged tile, removing the old tile is the right call.
How long does a tile replacement take?
A backsplash: one day plus grouting. A small bathroom floor: two to three days including cure times. Larger or waterproofing-heavy jobs take longer.
What’s the difference between thinset and adhesive?
Thinset is a cement-based mortar mixed with water — it’s the standard for floors and wet areas. Premixed mastic adhesive is fine for dry wall applications like backsplashes but shouldn’t be used on floors or in showers.