




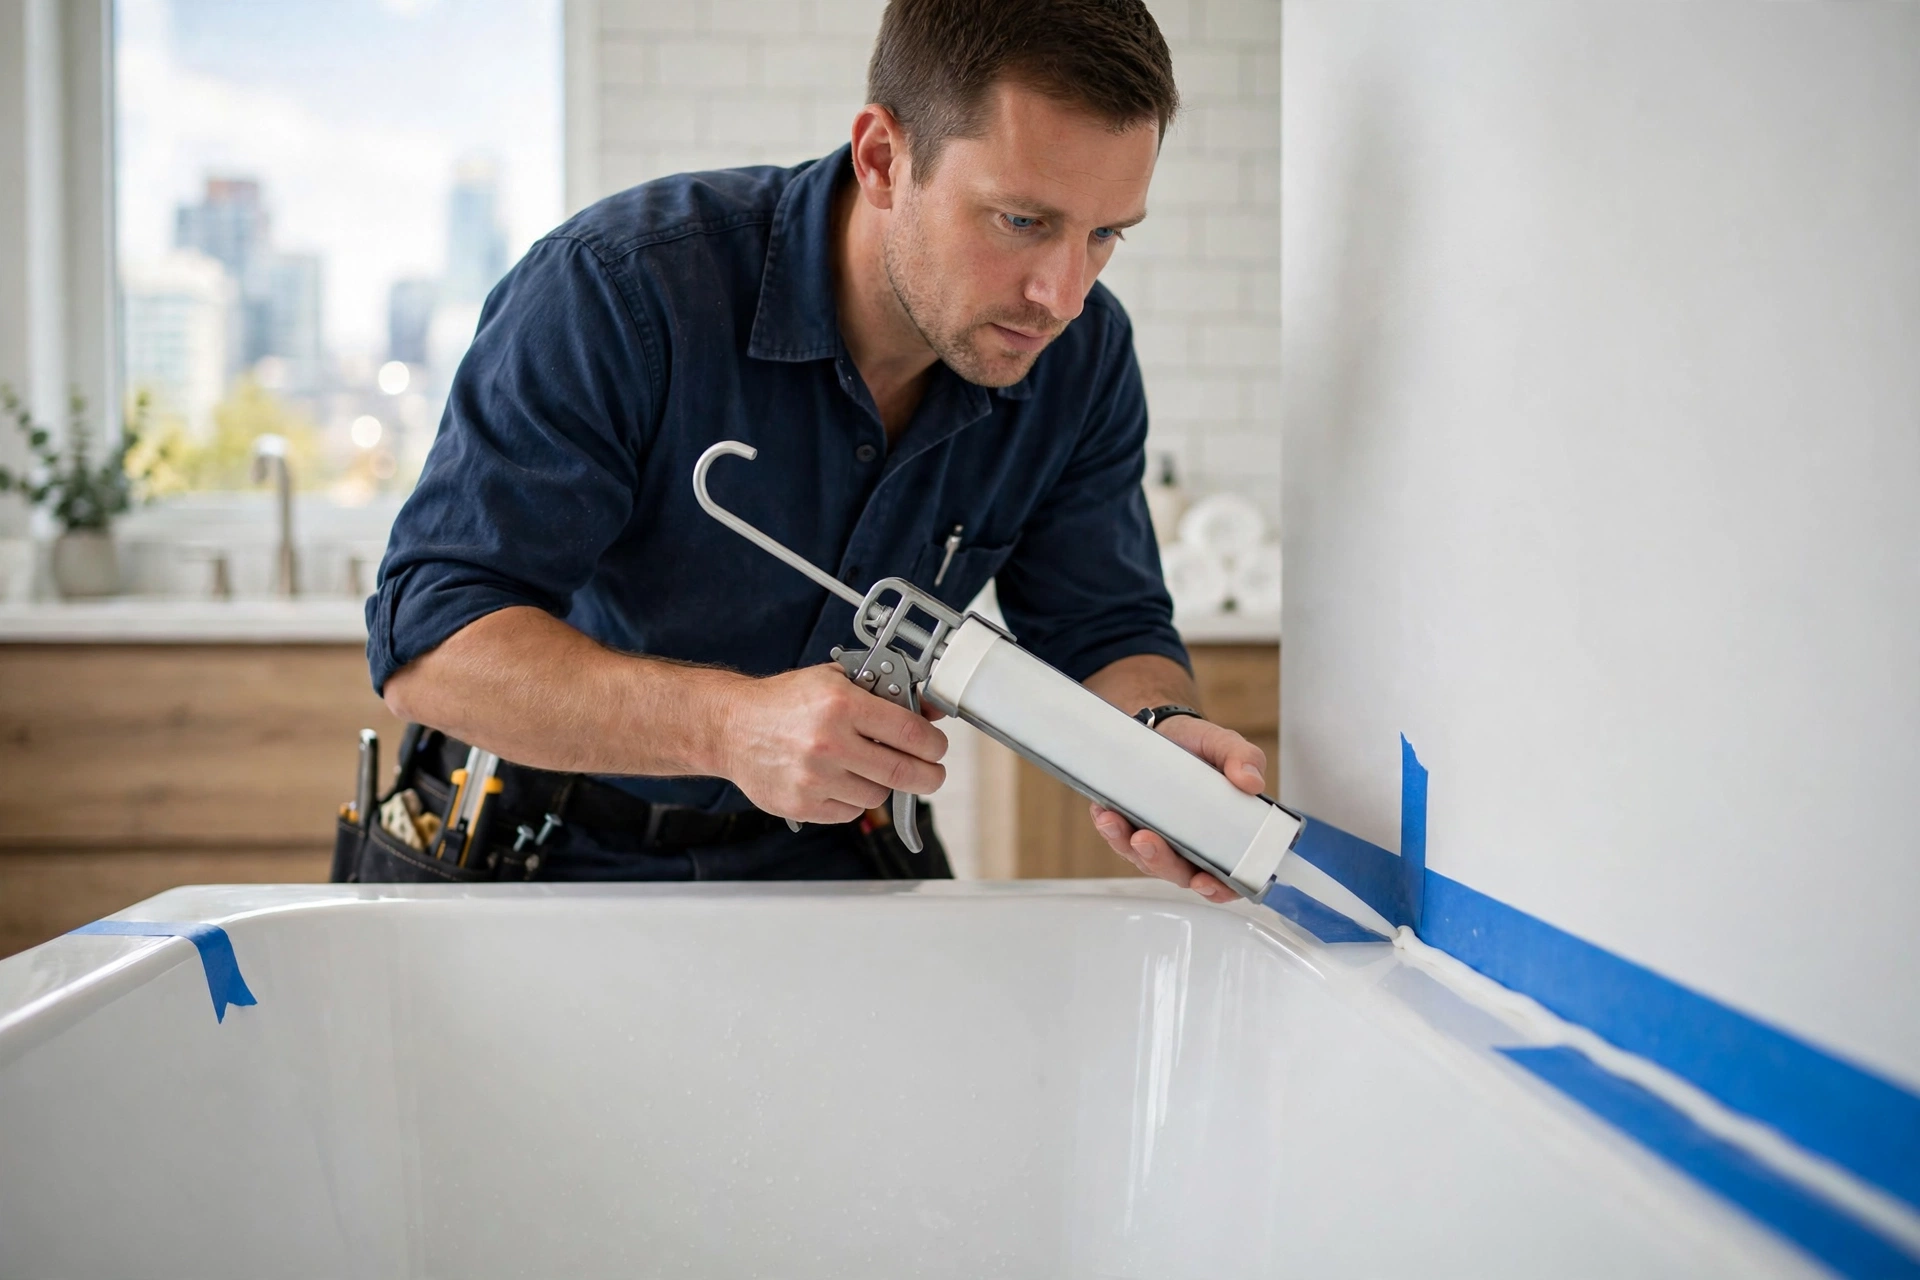
Stand in the caulk aisle of any Toronto hardware store and you’ll face a wall of tubes that all claim to seal everything. They don’t. Picking silicone where latex belongs — or latex where silicone belongs — is the most common reason fresh caulking cracks, peels or grows mould within a year.
Here’s how silicone vs latex caulk actually differ, where each one belongs, what professional recaulking costs in Toronto in 2026, and how to tell whether your old caulk is ready to come out.
Silicone vs latex caulk at a glance
| Silicone caulk | Latex (acrylic) caulk | |
|---|---|---|
| Best for | Wet areas: tubs, showers, sinks, exterior gaps | Dry interior areas: trim, baseboards, crown moulding, nail holes |
| Water resistance | Fully waterproof once cured | Water-resistant only; breaks down with constant water exposure |
| Paintable | No — paint will not stick to it | Yes — paint goes right over it |
| Flexibility | Stays flexible for years; handles movement well | Less flexible; can crack as a house shifts and settles |
| Lifespan | 10–20 years in the right spot | Roughly 5–10 years indoors |
| Cleanup | Mineral spirits; messy to work with | Soap and water; easy to tool and clean up |
| Removal later | Difficult — every trace must come off before new caulk sticks | Comparatively easy to cut out and redo |
| Cost per tube | ~$10–$18 | ~$5–$12 |
One hybrid worth knowing about: “siliconized acrylic” latex is latex caulk with a small amount of silicone added. It’s paintable and easier to work with than pure silicone, with somewhat better water resistance than plain latex — a reasonable middle choice for lightly damp areas like a bathroom wall away from the shower. It is not a substitute for pure silicone inside a shower or around a tub.
Where each one belongs
Around the bathtub and inside the shower: silicone, always. These joints are wet every day. Latex caulk in a shower softens, cracks and turns into a mould farm, usually within a year or two. Use a kitchen-and-bath silicone with mould resistance, and let it cure the full time on the label — usually 24 hours — before the shower gets used.
Kitchen sink and counters: silicone. The sink rim and the gap behind it see standing water daily. The backsplash joint where counter meets wall can go either way, but silicone lasts longer anywhere splashes land.
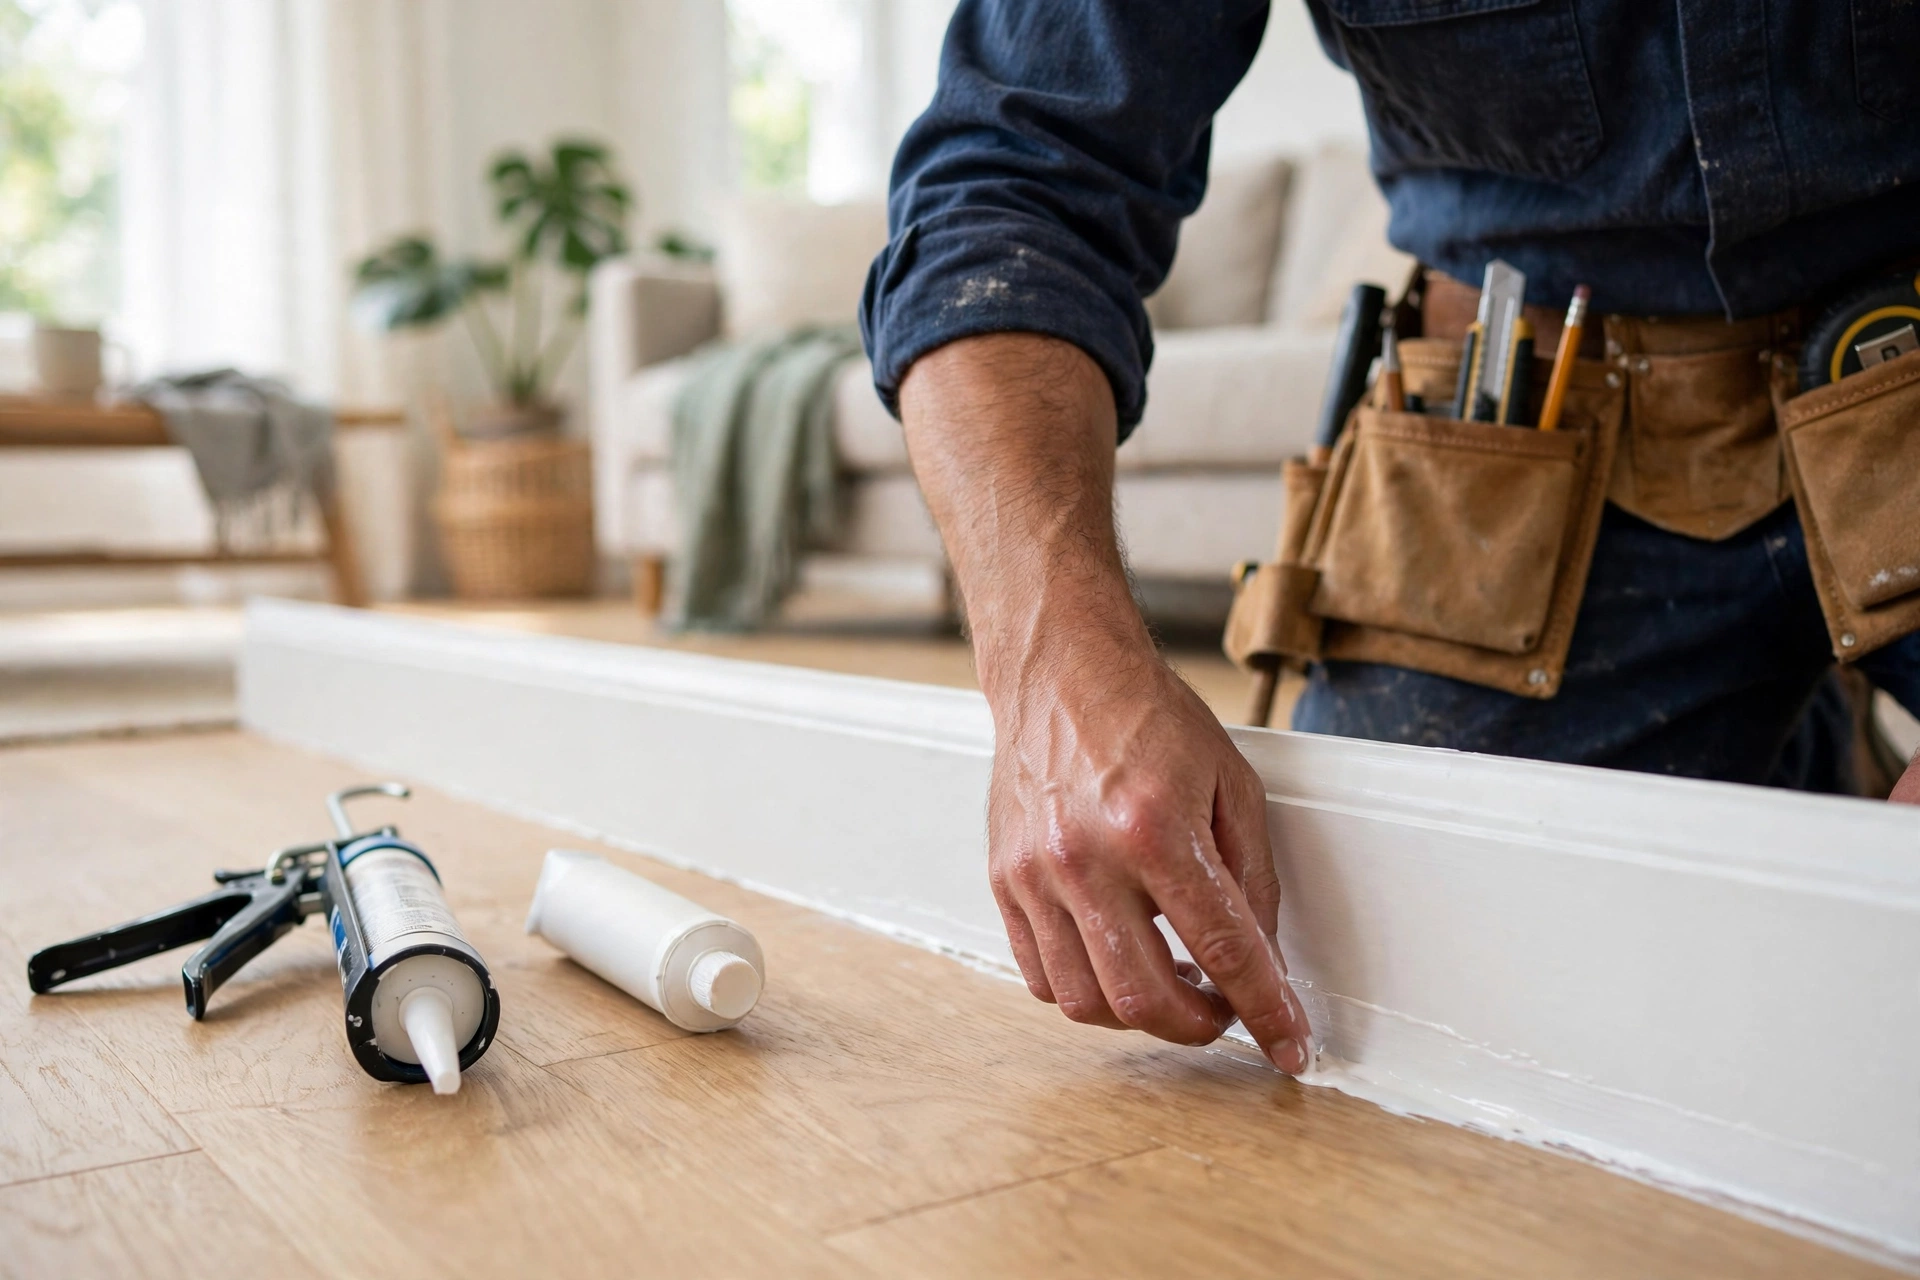
Baseboards, trim and crown moulding: latex, always. These joints need to disappear under paint, and paint will not stick to silicone — it beads and peels, and the line looks dirty forever. Latex tools smooth with a wet finger, cleans up with water, and paints over the same day. This is the mistake we see most often in Toronto homes: a previous owner sealed baseboards with silicone, and now no paint job ever quite covers it.
Windows and doors, exterior: silicone or a quality exterior sealant. Exterior joints move with freeze-thaw cycles and take direct rain; indoor latex outdoors will fail fast. Around a toilet base, many plumbers leave the back unsealed so a wax-ring leak shows on the floor instead of hiding under caulk — if you seal the front and sides, use silicone.
What professional recaulking costs in Toronto (2026)
These are typical ranges from handymen and caulking services across Toronto and the GTA — market ranges, not any one company’s price list. The biggest cost driver is removal: old caulk has to come out completely, and in a shower that is most of the labour. HST is extra.
A range is a budgeting tool, not a quote. The only number that applies to your home is the written quote you get after someone has seen the joint — its condition, how much old product has to come out, and whether there’s water damage behind it.
| Job | Typical range | Notes |
|---|---|---|
| Bathtub recaulk (remove old, new silicone) | $180–$300 | Includes full removal and disposal of old caulk |
| Shower stall recaulk | $200–$350 | Corners, door frame and fixtures add time |
| Kitchen sink + counter joints | $150–$250 | Usually paired with other small jobs in one visit |
| Full bathroom (tub/shower, sink, toilet base) | $250–$450 | Better value than booking each joint separately |
| Interior trim/baseboard caulking, per room | $100–$200 | Latex, ready to paint the same day |
| Exterior windows, per window | $40–$80 | Ladder work and weather windows affect the price |
Signs your old caulk has failed
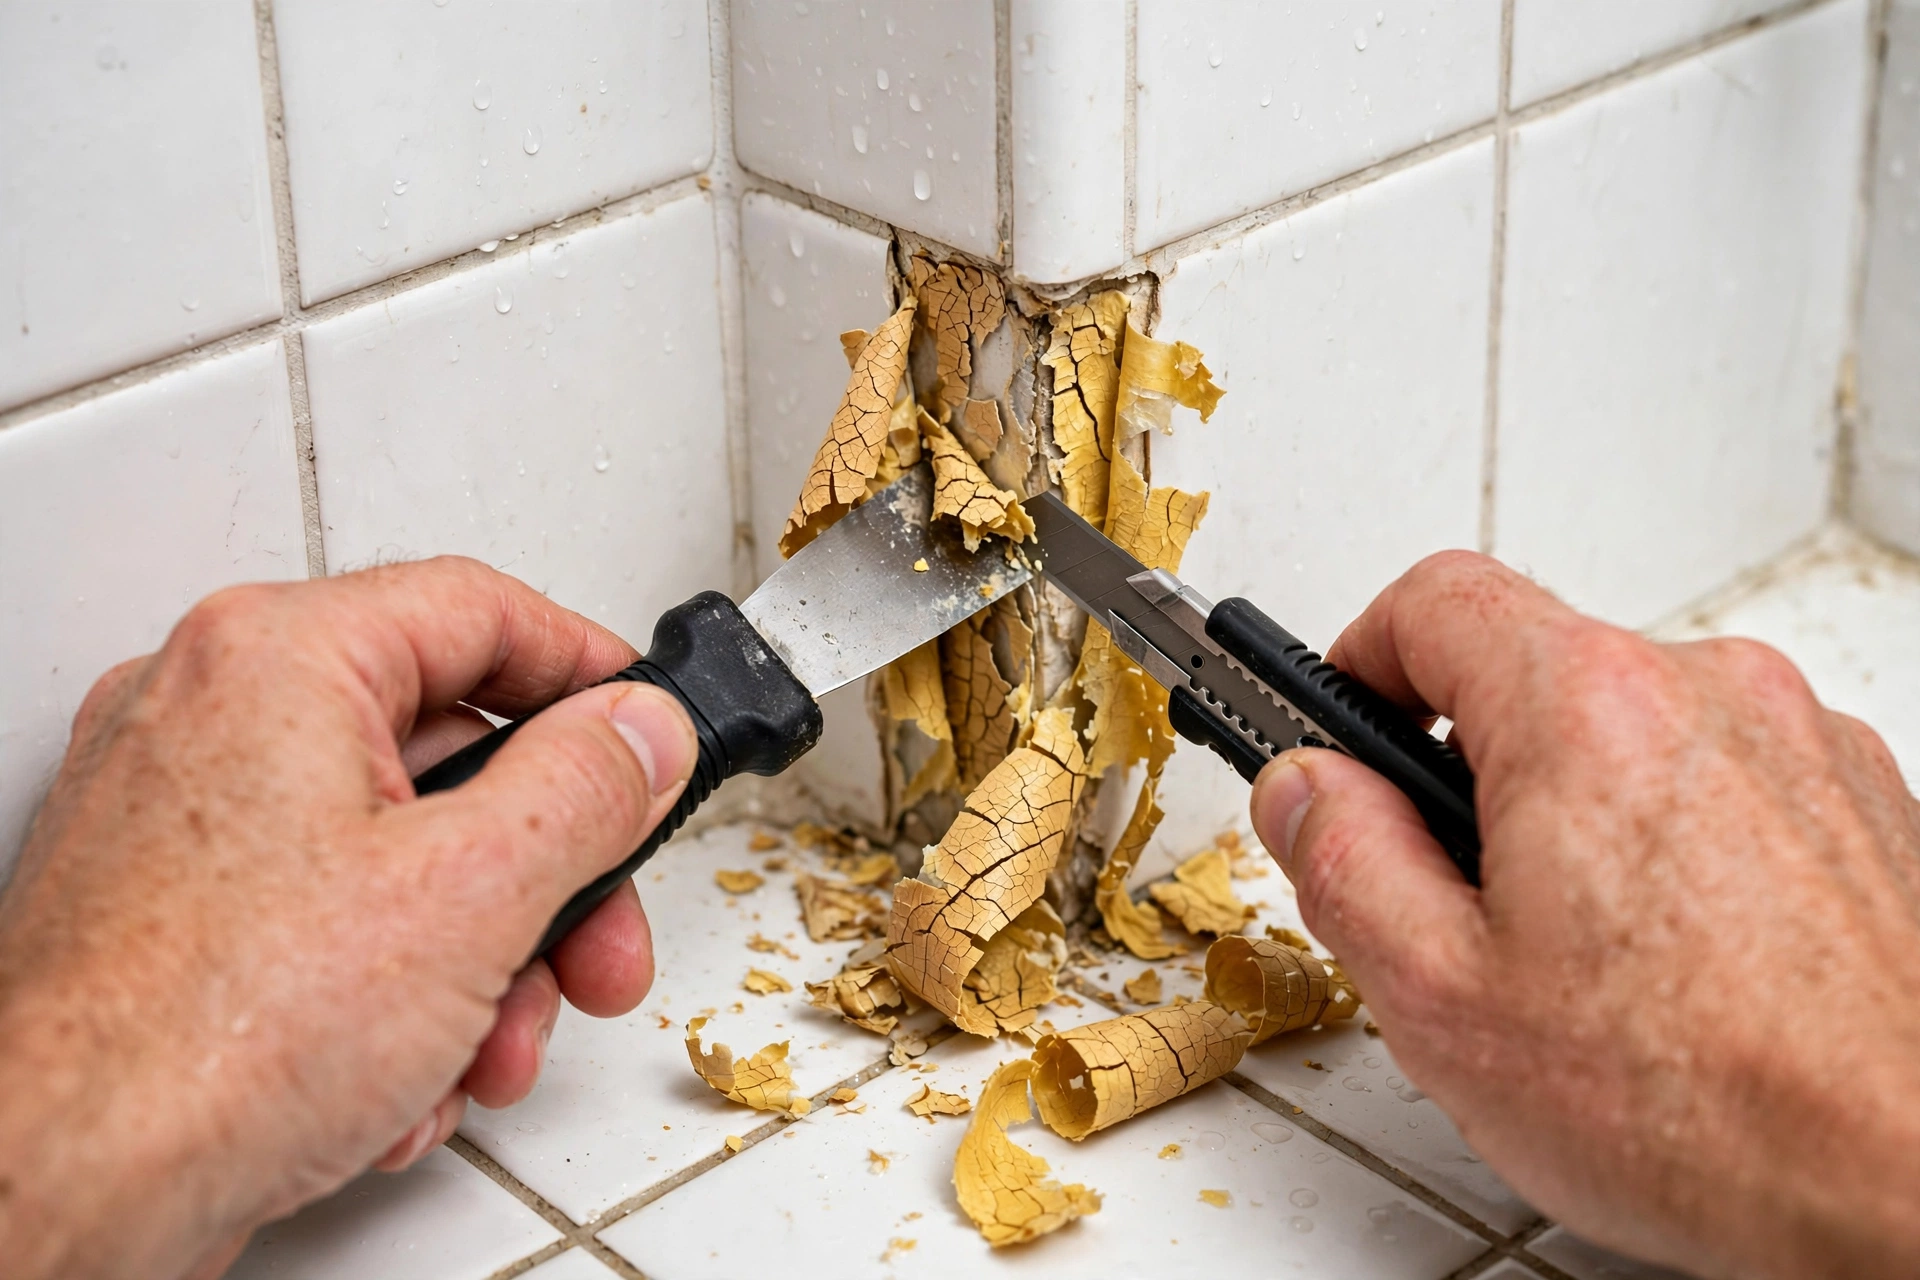
- Cracks or gaps along the joint — water is already getting behind it
- Black or pink mould that comes back within weeks of cleaning — it’s growing inside the caulk, not on it
- Peeling edges lifting away from the tub, tile or trim
- Yellowed, hard caulk that no longer flexes when you press it
- A musty smell near a tub or shower that cleaning doesn’t fix — water may be reaching the wall behind
Failed shower caulk is not just cosmetic — water behind tile works quietly for months, and a rotted shower wall is a different conversation than a $200 recaulk. If tile feels spongy or loose, get it looked at before resealing over the damage.
DIY or call a pro?
Honest answer: a straight run of baseboard or a kitchen counter joint is fair game for a careful DIYer — a tube of the right caulk is under $20, plus a utility knife, painter’s tape and a caulking gun. Tape both edges of the joint, cut the tip smaller than you think, and tool the bead once, smoothly. Wiping and re-wiping is what makes DIY caulk look like DIY caulk.
Call a pro when:
- The old caulk is silicone — removing every trace is slow, fiddly work, and new caulk won’t stick to silicone residue
- It’s a shower or tub — the joint that fails quietly and costs the most later
- There’s mould that keeps returning, or soft/spongy tile or drywall behind the joint
- The work is on a ladder, around exterior windows
- There are several rooms’ worth of joints — one visit handles the whole list faster than a weekend of tubes
How Homenza handles caulking
Every job starts with a written quote before any work begins — no “starting from” pricing. The ranges in this guide are Toronto market ranges, not a Homenza price list: your final price is quoted after we’ve seen the joints, based on how much old caulk has to come out and which product each joint needs. We remove the old caulk completely, clean and dry the joint, use silicone in wet areas and paintable latex on trim — never one tube for the whole house — and tape our lines so the bead is straight. One booking can pair recaulking with the other small jobs on your list: a drywall patch, a door adjustment, or the bathroom tap that’s been dripping.
See what’s included in our caulking service, or call (416) 670-0014 for a free estimate anywhere in Toronto & the GTA.
FAQ
Can you paint over silicone caulk?
No. Paint will not bond to cured silicone — it beads, peels and collects dirt along the line. Any joint you plan to paint, like baseboards and trim, needs latex or siliconized acrylic caulk. If a previous owner used silicone on trim, the options are to remove it completely or use a specialty primer made to grip silicone.
How long does silicone caulk last in a shower?
Good kitchen-and-bath silicone, applied to a clean, dry joint, typically lasts 10–20 years. What shortens it is application, not the product: caulk over old residue, mould or a damp joint often fails in a year or two — full removal and drying time matter more than the brand on the tube.
Why does my bathroom caulk keep going mouldy?
Because the mould is growing in the caulk, not just on it — usually latex in a wet joint, or silicone applied over an already-mouldy joint. Bleach cleans the surface and the spots return. The fix is to remove it entirely, treat the joint, dry it completely, and reseal with mould-resistant kitchen-and-bath silicone.
Do I need to remove all the old caulk before recaulking?
Yes. New caulk — especially silicone — will not bond properly over old caulk, and sealing over mould traps it inside. A proper recaulk always starts with cutting and scraping the old product out and cleaning the joint. It’s the least visible part of the job and the one that decides how long the new bead lasts.
How long before I can use the shower after recaulking?
Give silicone a full 24 hours to cure before the shower gets wet — 48 hours is safer for a tub surround that was damp when the work started. Using it early is a common reason a fresh bead lets go at the edges. Latex caulk on trim can usually be painted within a few hours; check the tube.