





Scratching in the walls on the first cold night of fall. Droppings under the kitchen sink. A bag of rice chewed open in the pantry. Every fall, Toronto homes get the same unwelcome guests: as temperatures drop, mice move indoors for warmth, food and shelter. If you’ve seen even one, assume there are more, and that they have a way in — which is almost always fixable.
Signs mice are getting in
Evidence usually shows before a mouse does:
- Droppings — small dark pellets (3–6 mm) along walls, under sinks, in drawer backs
- Scratching or scurrying sounds in walls or ceilings, usually after dark
- Grease marks — dark smudges along baseboards and around holes, from oil in mouse fur
- Chewed food packaging, or shredded paper and insulation used as nesting material
How mice get in: the 6 mm rule
An adult mouse can squeeze through a gap of about 6 mm — the size of a dime. If a pencil fits in a hole, a mouse fits too; their ribs compress. Mouse-proofing is a slow walk around the house looking for small holes, not one big one.
The entry points to check
- Foundation cracks and gaps in mortar — walk the exterior; a hairline opening counts if a mouse can grip it
- Utility and pipe penetrations — where pipes, gas lines, AC lines and vents pass through the wall, the hole is drilled bigger than the pipe, and the gap around it is a classic entry. Check under sinks too
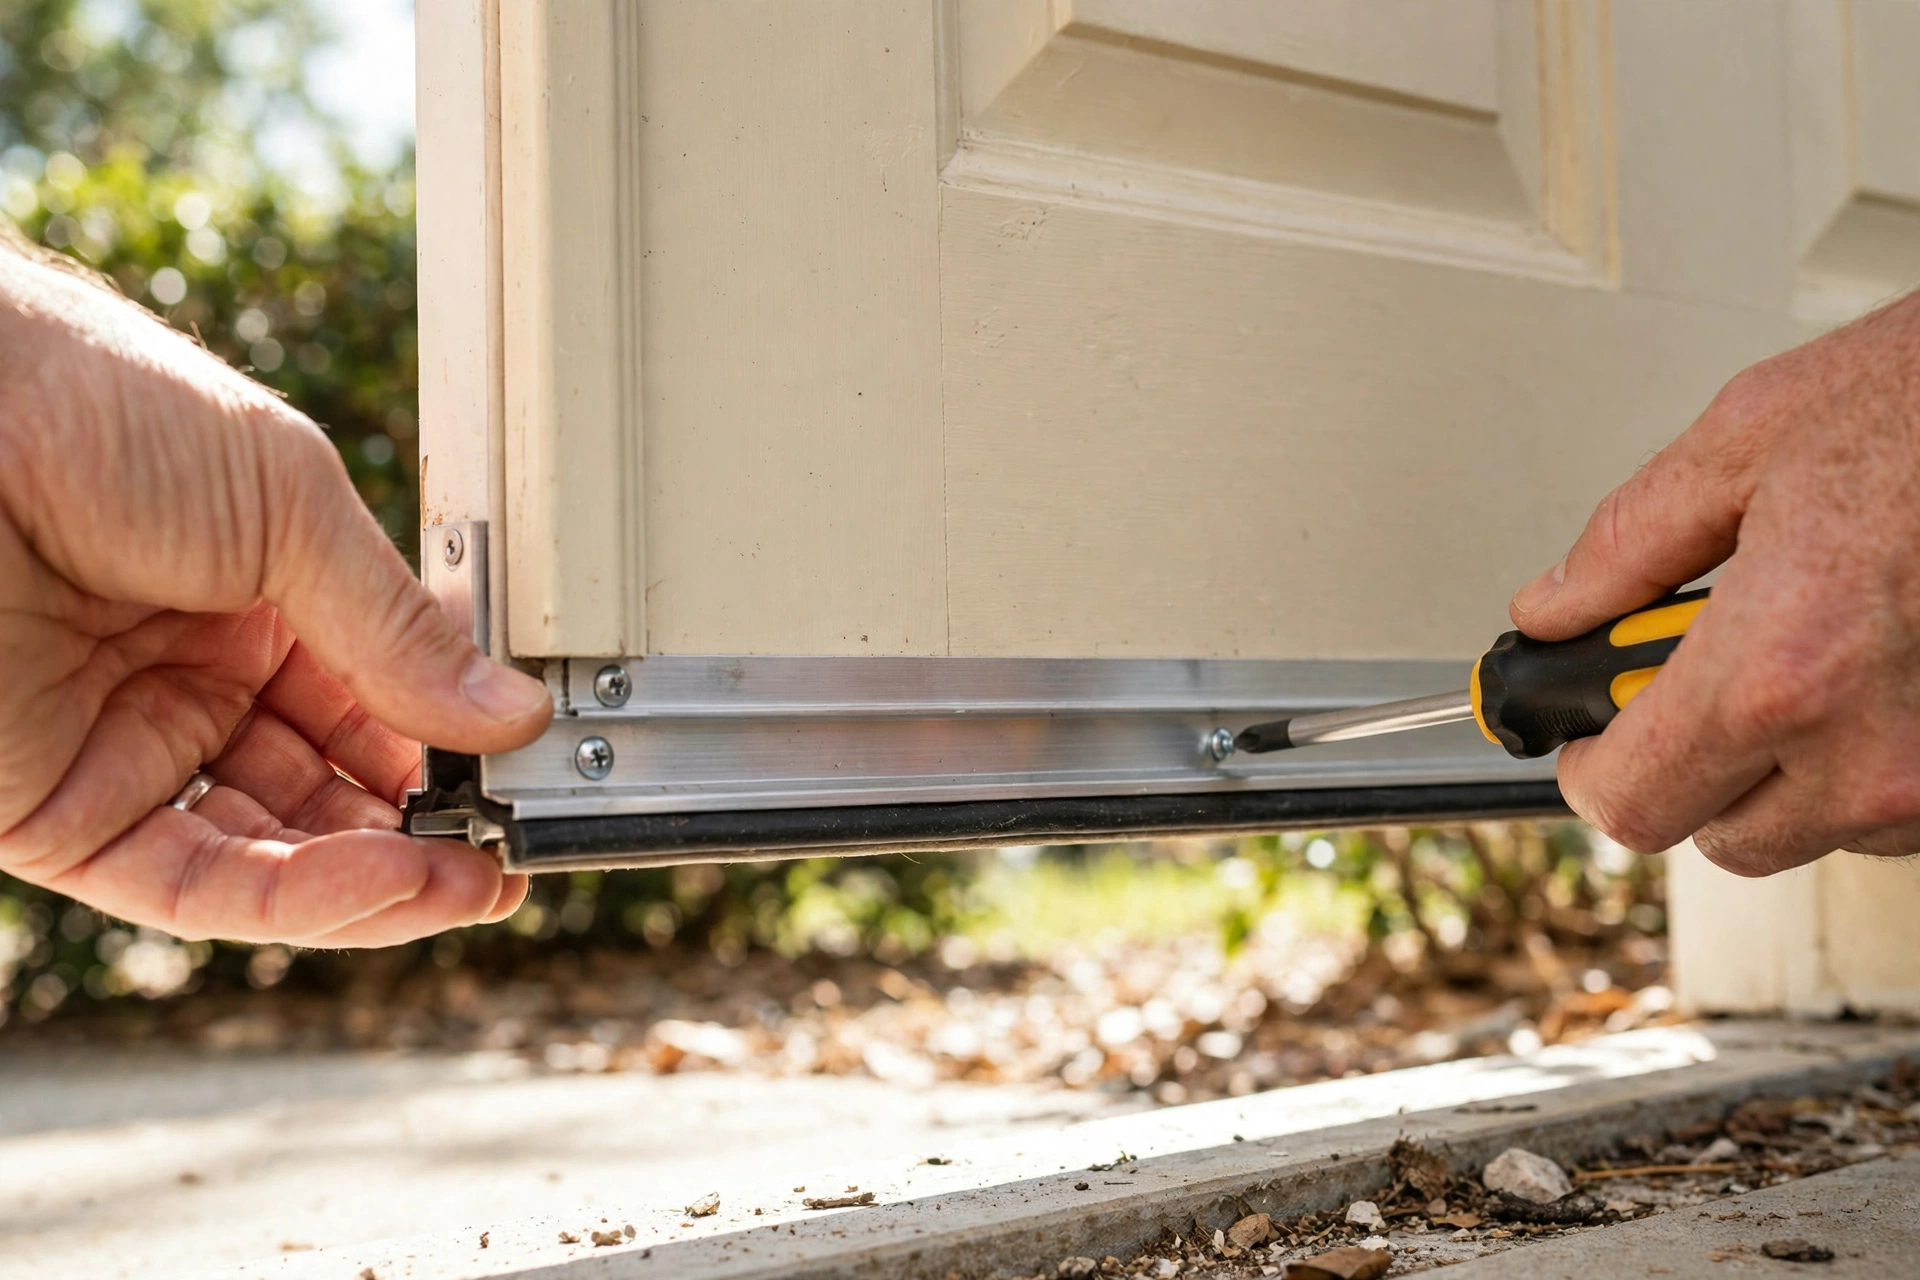
- Garage door seals and door sweeps — daylight at the corners of a closed garage door means a mouse-sized gap, and a worn sweep is an open door at their scale
- Vents and soffits — dryer vents with stuck flappers, roof vents with damaged screening, gaps where the soffit meets the wall. Mice climb well; older GTA homes often have openings up high
- Brick weep holes — the small gaps at the base of brick walls that drain moisture from the wall cavity. Do not plug them solid — blocking drainage causes mould inside the wall. Use covers or mesh inserts that let water out but keep mice out
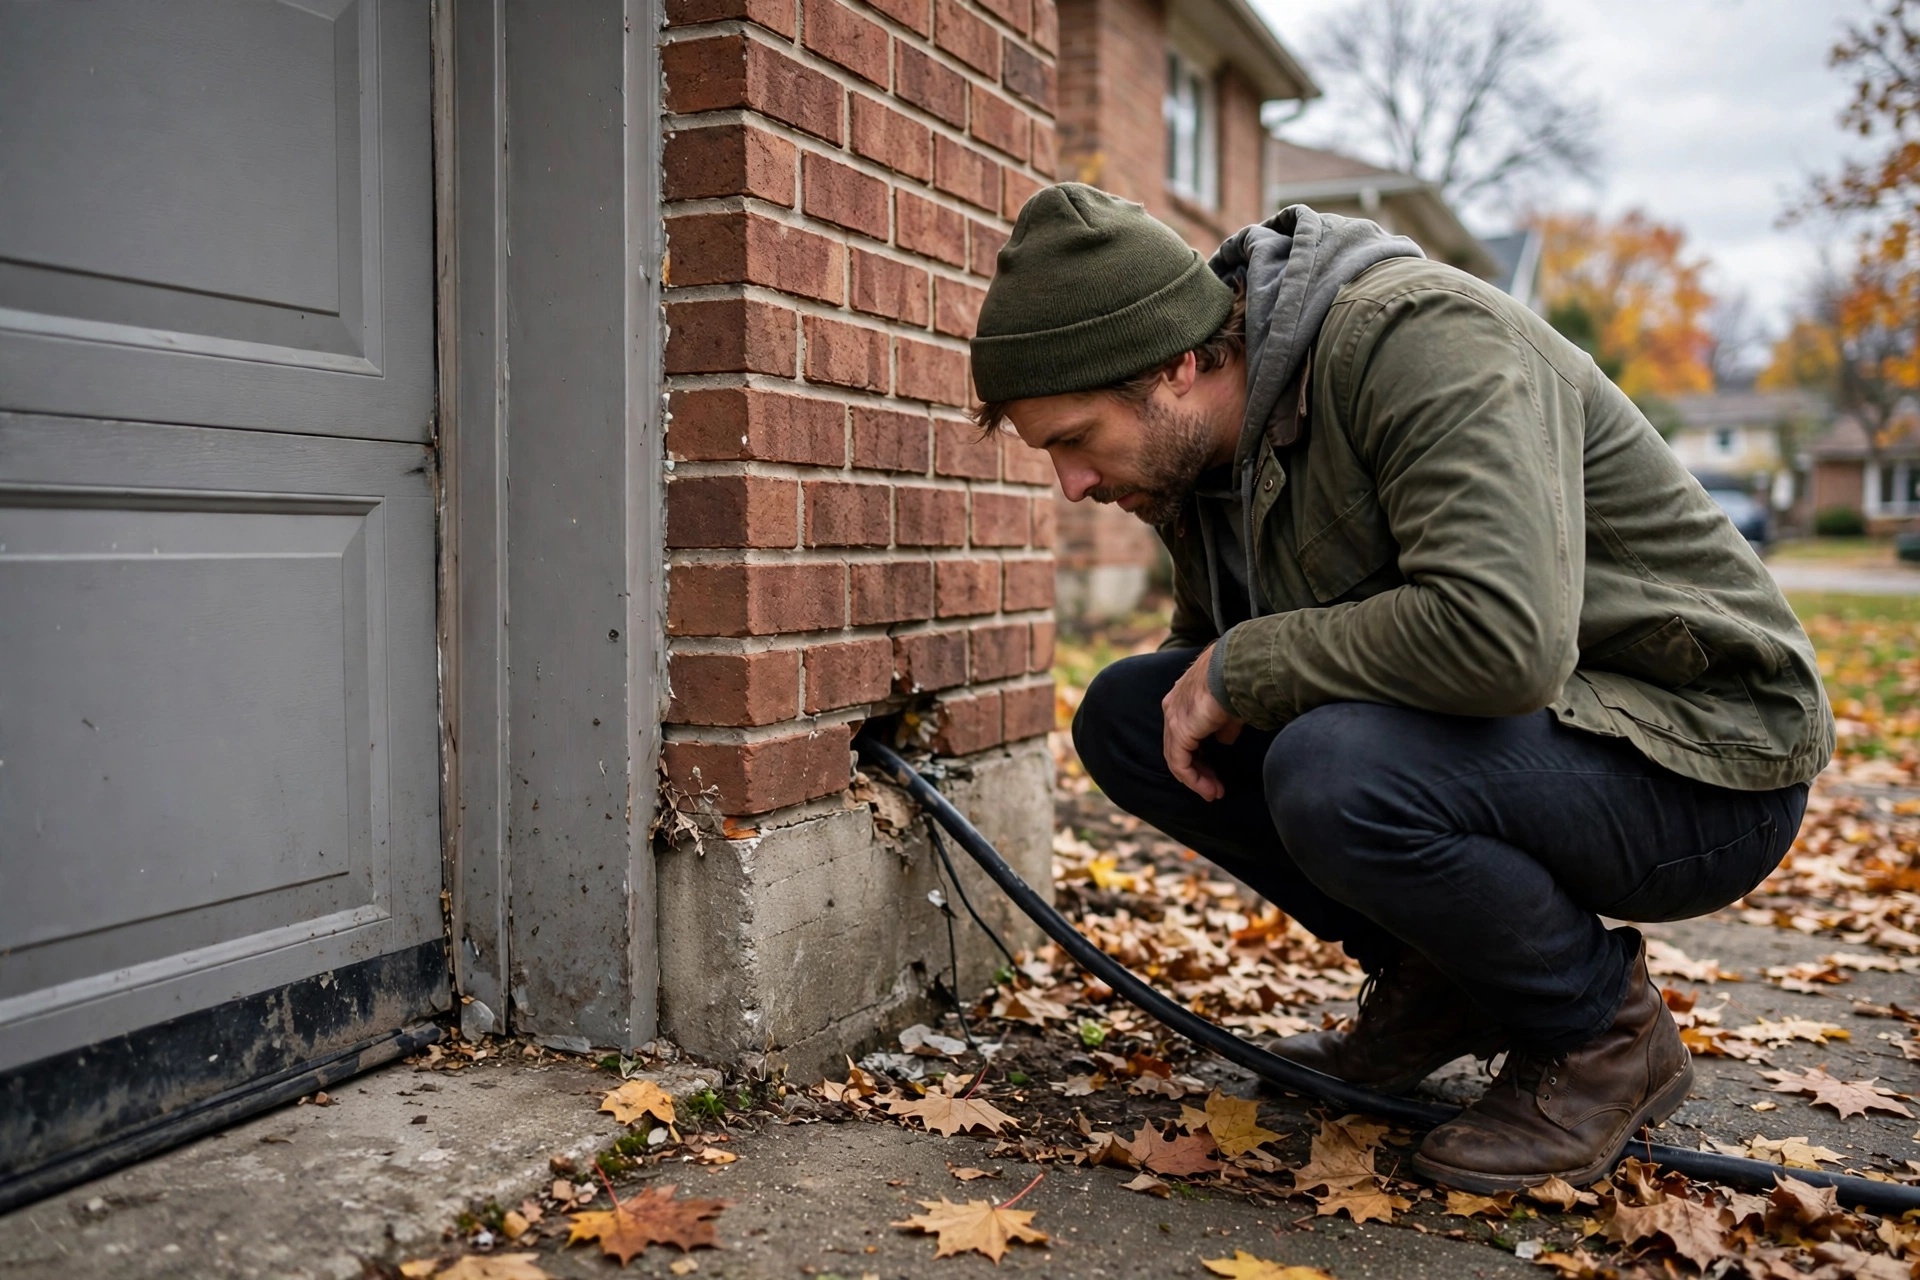
The right materials for sealing
Mice chew. A seal only works if they can’t gnaw through it.
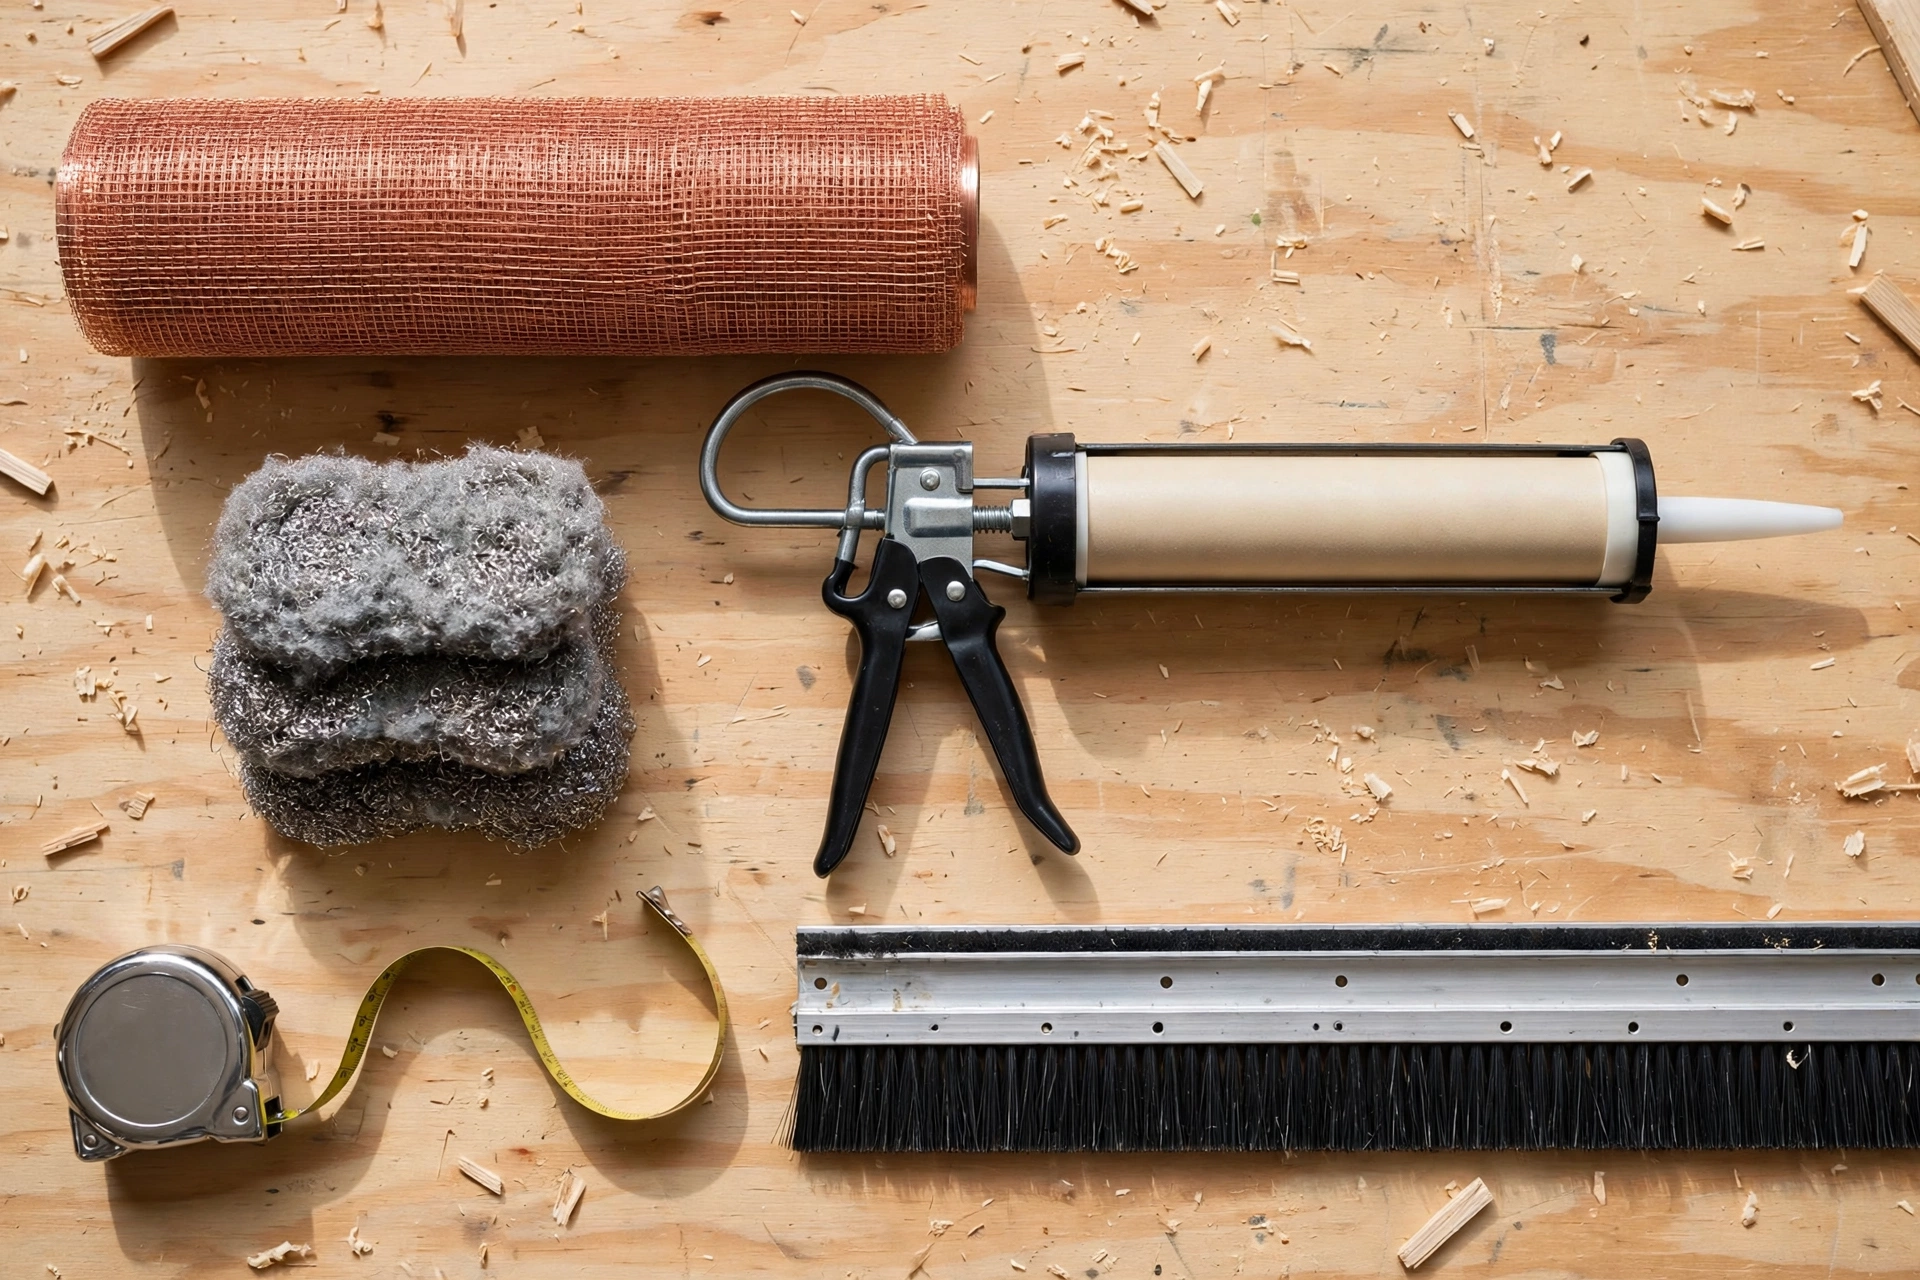
Use:
- Copper mesh — packed into gaps; it doesn’t rust and mice won’t chew it
- Steel wool backed with caulk — the wool stops the chewing; the caulk holds it in place
- Sheet metal flashing and vent covers — for larger openings and vents
- Quality door sweeps — metal-and-bristle or heavy rubber
Don’t use:
- Expanding foam on its own — mice chew through it within days; it only works as filler behind copper mesh
- Plastic covers and screens — gnawed through just as fast
- Caulk alone in a big gap — it shrinks and cracks, with nothing to stop teeth
Room by room: where to look hardest
Kitchen. The gap where water and drain lines pass through the cabinet floor and wall under the sink is one of the most common entry points we seal — hidden, warm, and leading straight to food. We recently mouse-proofed a client’s basement kitchen this way: the open holes around the pipes under the sink were the highway in.
Basement and attic. In the basement, check along the top of the foundation wall and where pipes cluster around the furnace — where outside entries connect indoors. In the attic, look for droppings and chewed insulation — but do ground-level work first; most mice enter low.
Cleaning up droppings safely. Don’t sweep or vacuum them dry — that puts contaminated dust in the air. Wear gloves, wet the area with disinfectant or a bleach solution (1 part bleach to 10 parts water), let it sit, wipe up, bag it, wash your hands.
What a professional mouse-proofing visit covers
A proper proofing visit is a sealing job, not a spraying job. It starts with a full inspection — outside, then in the basement, under sinks, the garage and the attic — to map every gap 6 mm or larger. Each gets sealed: copper mesh and sealant around pipes, flashing or covers on vents, new door sweeps where the old ones failed.
One honest note: proofing keeps new mice out. If mice are already living inside, sealing pairs with trapping — otherwise you can seal them in.
In the Toronto market, mouse control with basic sealing typically runs $250–$500, and thorough whole-home exclusion — sealing every entry point — is commonly quoted at $500–$1,500. Those are market ranges, not anyone’s set rate — the final price is a written quote after seeing your house.
DIY or call a pro?
Honest answer: sealing a few visible gaps around pipes and doors with copper mesh is a fair DIY job if you’ve seen signs.
Call a pro when:
- You keep finding droppings after sealing what you could see
- The gaps are at the roofline or in the soffits, or anywhere needing work at height
- Your home is older brick with many weep holes, cracks and old utility penetrations
- You want the whole house checked and sealed in one visit before winter
Get it sealed before the cold does the inviting
Late October is the window — every gap closed before winter is a nest that never happens. Our general repairs and home maintenance service covers mouse-proofing and sealing across Toronto & the GTA. Call (416) 670-0014 for a free estimate — written quote first, no surprises.
FAQ
How small a hole can a mouse fit through?
About 6 mm — the size of a dime. If a gap passes that test, it needs sealing.
Does expanding foam keep mice out?
Not on its own. Mice chew through cured foam easily. Foam only works as filler behind something they can’t gnaw, like copper mesh.
Should I seal my brick weep holes?
Never plug them solid — they drain moisture from inside the brick wall, and blocking them can cause mould and brick damage. Use covers or mesh inserts that block pests but let water drain.
How much does professional mouse-proofing cost in Toronto?
Typical market ranges in 2026 are $250–$500 for mouse control with basic sealing, and $500–$1,500 for comprehensive whole-home exclusion. Your price comes from a written quote after an inspection.
I sealed everything but still hear scratching. Now what?
The mice may already be inside — sealing stops new arrivals, so the ones in the walls need trapping. Or there’s a missed entry point, often at the roofline.